|
Note: The following is from a tutorial I made that is also posted
at FFURG. This tutorial's screenshots
are from a Macintosh computer using Photoshop 5. Things may
look slightly different in PC but the basic commands are the same.
Use similar methods with other programs.
Part 1: Preparing Character
Picture
1.) Open Photoshop
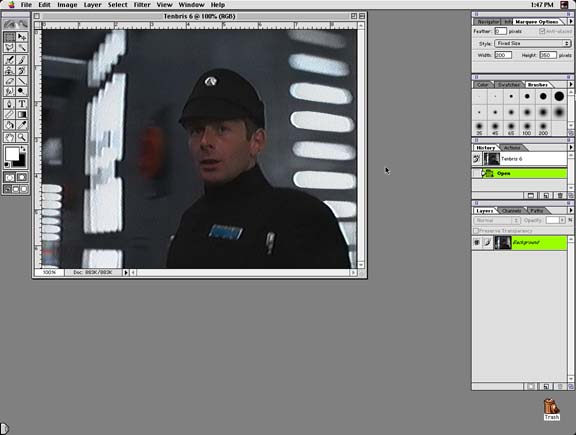
2.) Open the picture of the
character you wish to place on your template. See
screen shot.
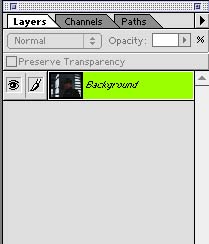
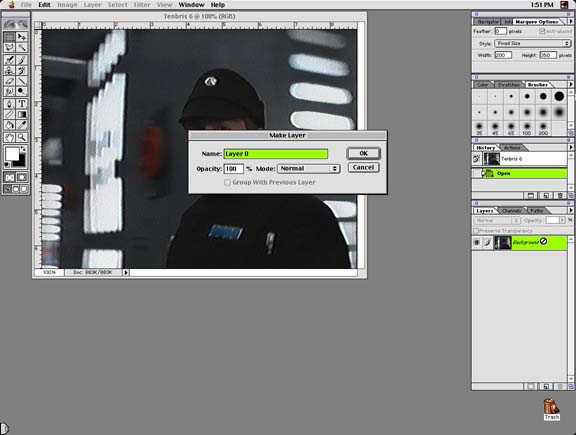
3.) If the picture is not a
Photoshop document, double click the highlighted
background in the
Layers window on the right side of the screen. A
dialog box appears. Click OK. See screen
shot.
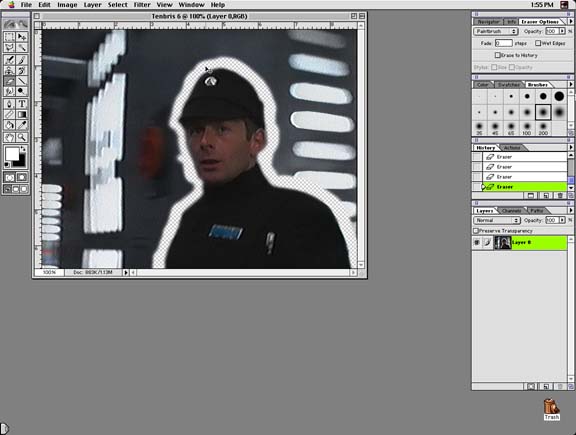
4.) Select the Eraser  from the Toolbar.
5.) Select brush
size from the window on the right.
6.) Erase around the character's
figure by clicking and dragging. Use different
brush sizes when
necessary. See screen
shot.
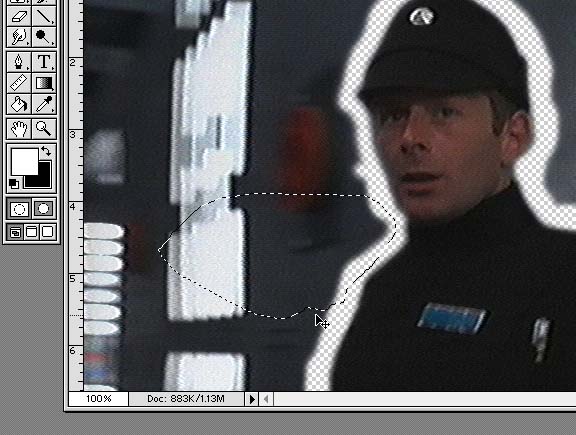
7.) Select the Lasso  from the Toolbar.
8.) Click, hold and drag, on part
of the picture you want to get rid of, to make a
complete "circle" and release. A selection has been
made. See screenshot.
9.) Press Delete to remove the
area in the selection. Repeat until the area to be
removed is completely gone. To remove a selection,
go to the menu SELECT-->DESELECT.
10.) Save this document as a
Photoshop document.
Part 2: Adding Picture to
Template
1.) Have the character picture
you have prepared open and active. Also have the
template you have downloaded from KAP
or FFURG open in
the background.
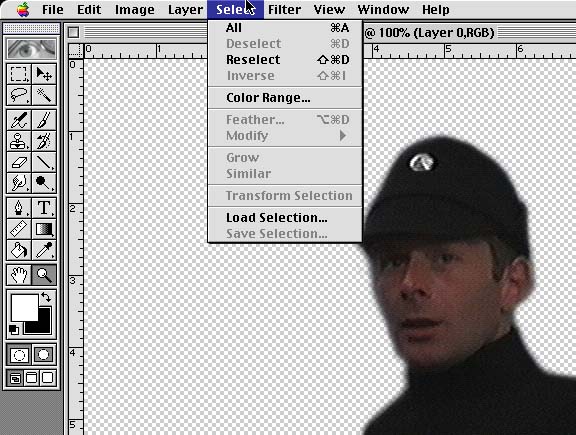
2.) From the menu SELECT-->ALL.
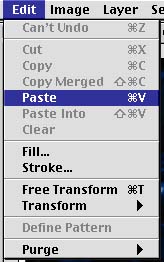
3.) From the menu EDIT-->COPY.
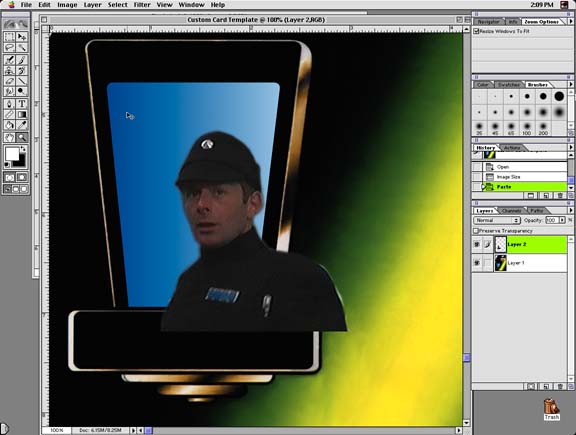
4.) Make the template the active
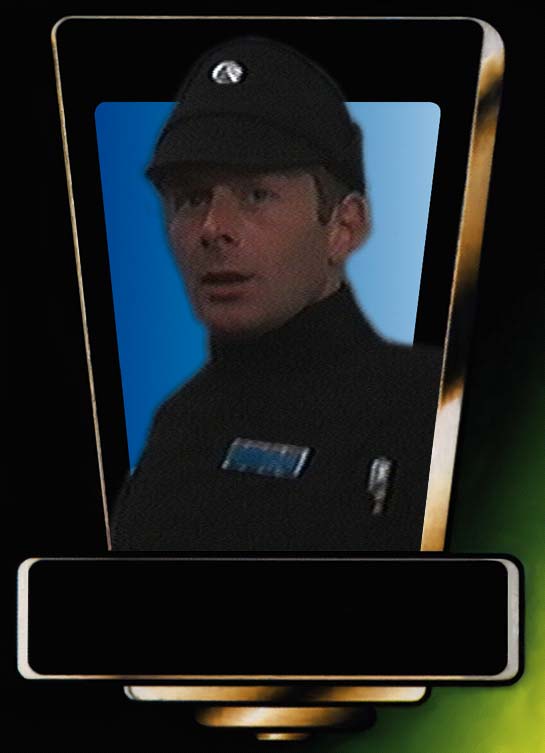
window. From the menu EDIT-->PASTE.
See screen shot.
5.) Use the Zoom  tool to find a comfortable working size.
6.) Select the Move  tool from the Toolbar.
7.) Click, hold and drag the
character picture you have placed on the template
over the designated frame.
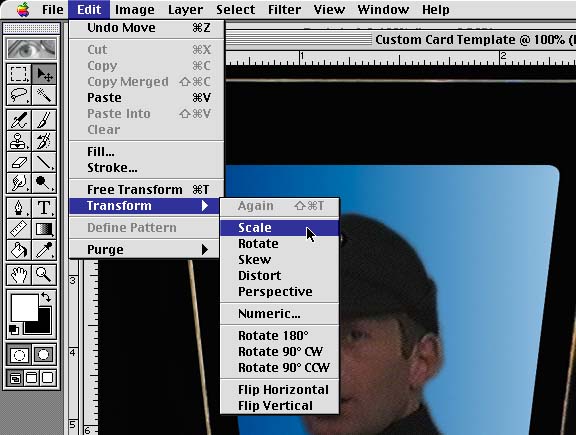
8.) Adjust the size the the
picture. From the menu EDIT-->TRANSFORM-->SCALE.
A box appears around the picture with tiny boxes at
the corners and sides. Click, hold and drag on
oneof the corner boxes while pressing the Shift
key. Release the mouse when a desired size has been
reached. Press Enter(PC) or Return(Mac). See
screen shot.
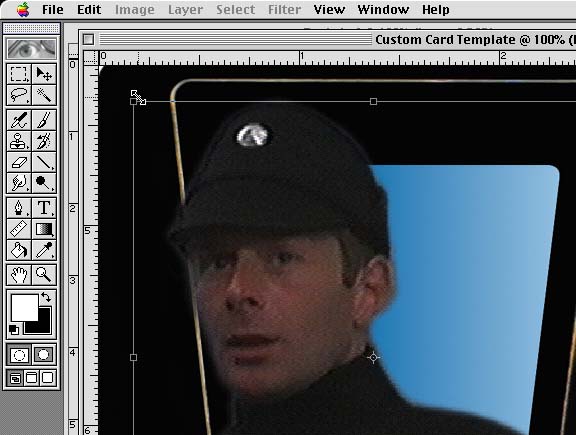
9.) Re-postion with the Move
tool if necessary.
10.) Select the Polygonal Lasso
 from the Toolbar. You may
have to click and hold the Lasso
icon to get to the Polygonal Lasso .
Each time you click, the Polygonal Lasso
creates a straight line. This tool will enable you
to remove portions of the character picture that
are outside the frame on the template. When you
complete a trapazoidal figure it becomes a
selection that can be deleted.
from the Toolbar. You may
have to click and hold the Lasso
icon to get to the Polygonal Lasso .
Each time you click, the Polygonal Lasso
creates a straight line. This tool will enable you
to remove portions of the character picture that
are outside the frame on the template. When you
complete a trapazoidal figure it becomes a
selection that can be deleted.
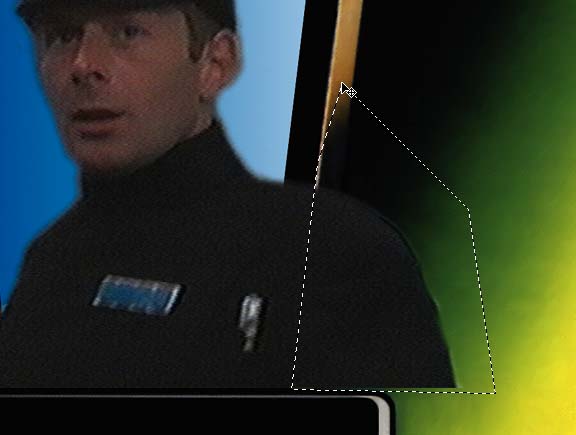
11.) Click the mouse, following
the frame, to make a selection. You can complete
the selection by double clicking or clicking once
on top of the very first click. See screen
shot.
12.) Press Delete. Repeat until
those areas outside the frame are gone. See
screen shot.
13.) Save as a Photoshop document
under a different name.
|
